Look at all these glorious parts! time to get stuck in!
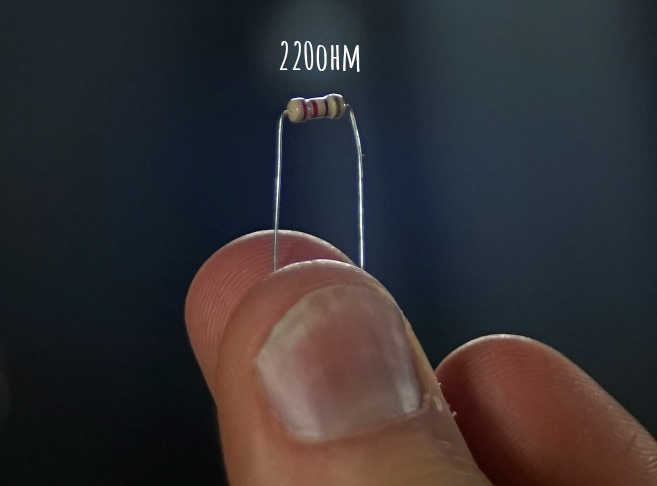
1. Resistor
This is a 220ohm resistor. It’s here to limit the current going through the LED so it doesnt burn out. First bend the legs as shown in the image above.
Stick the legs through the holes in the circuitboard like this. It doesn’t matter what way round the resistor goes in. It doesn’t care what way the current flows through it
Bend the legs out 45 degrees so the resistor doesn’t fall out when you flip the circuit board over to do the soldering. To solder you want to use your soldering iron to heat up the leads and the copper plated hole that the leads are sticking through before applying solder. Here is a quick crash course:
Here’s what the solder joints should look like when you’re done.
Next, cut the leads of with a wire clipper:
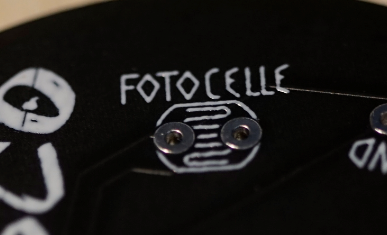
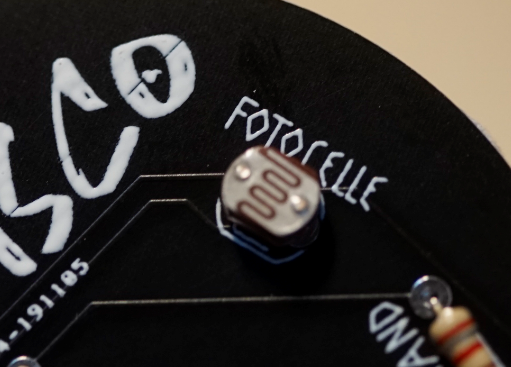
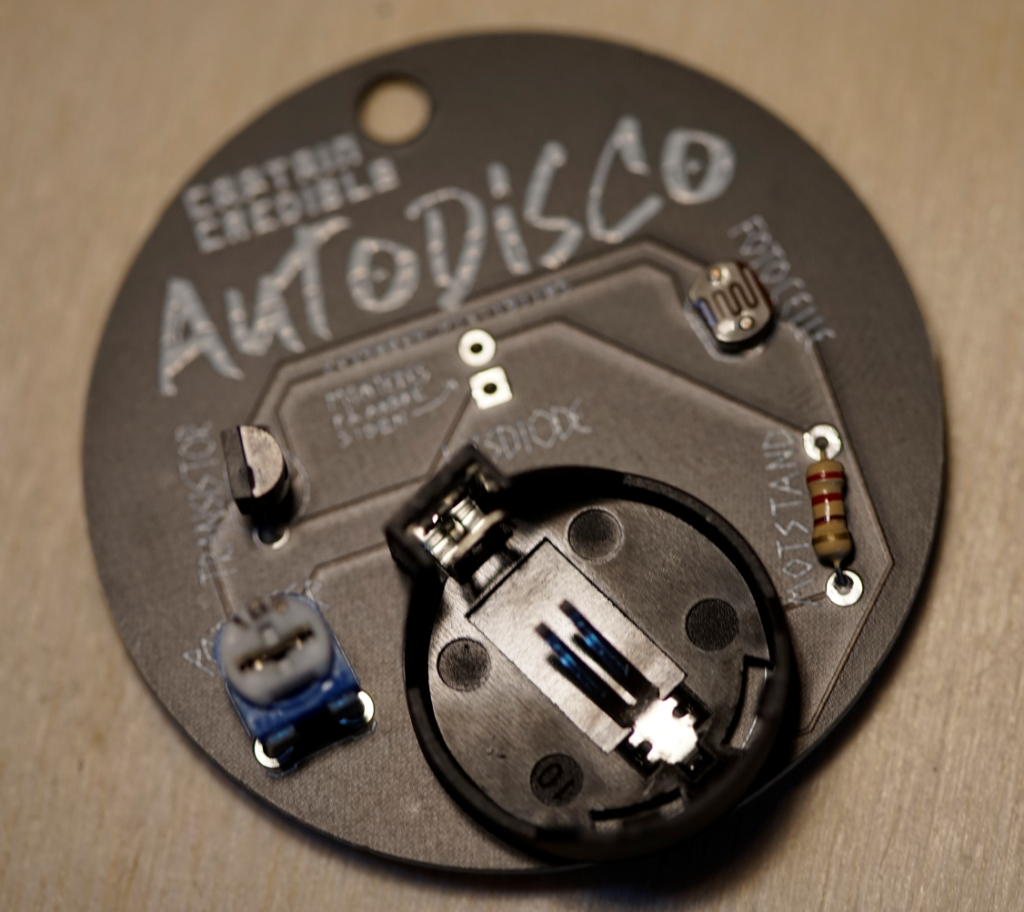
2. Photocell
The photocell is resistor that changes its resistance depending on how much light hits the top. Put it in the spot marked “photocell” on the circuit board
Then just stick it through, bend the legs out and solder it just like you did with the resistor.
Then just cut the legs off
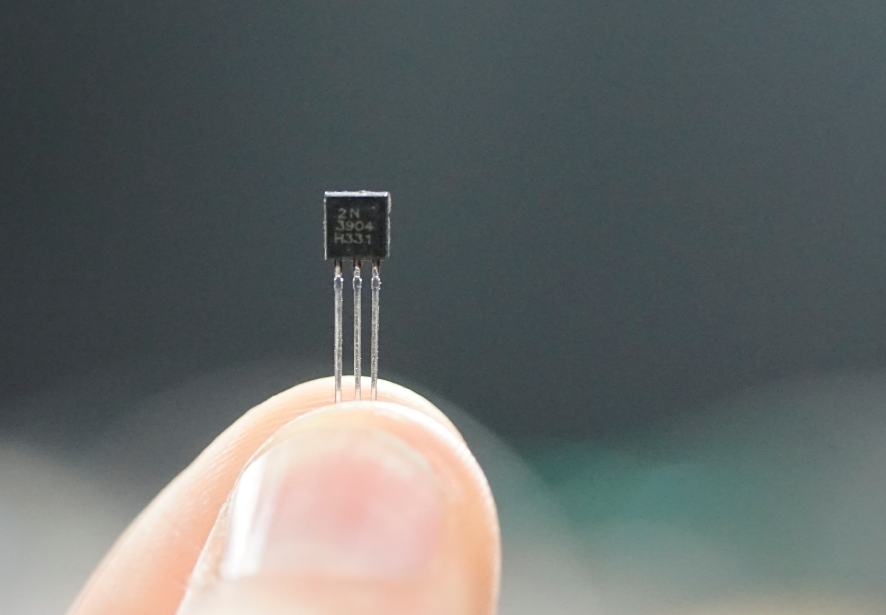
3. Transistor
This goes in the holes marked, you guessed it, “Transistor”. Make shure you get it in the right way round though! The silhouette drawn in white is a hint.
Stick it in, solder it and clip the legs!
4. Potentiometer
The potentiometer is like a faucet for electricity. We will be using it as a sensitivity adjustment. Here is where it goes:
5. Battery holder
Stick it in where it says battery. Make sure you get it the right way round!
The legs sticking through are quite sharp, so you might want to cut them off.
6. LED
The LED (light emitting diode) will be flashing in all glorious disco colours of the rainbow. The LED is polarised though, meaning it has a positive leg and a negative leg. The long leg is positive, the short one is negative.
Another important point is that the LED wants to be mounted on the opposite side from all the other components (the shiny side). as the writing on the PCB says.
Insert the LED with the long (positive) leg through the round hole and the short (negative) leg through the square hole
Solder the leads on the other side
7. Battery
The battery will deliver power to the circuit, stick it in the battery socket with the shiny positive side of the battery facing up
And there you go! Your Autodisco will now blinky its flashy colours when the room is dark, and turn off when it is light.
You can adjust its sensitivity by turning the potentiometer with a screwdriver or your fingers.